|
Do you want to be a better CNC'er in 37 Seconds? Get Better Tool Life, Surface Finish, and Material Removal Rates Fast. It's that easy. You can install and get results now. |
12" Disc Sander, Part 3
Hang in there folks, we're in the final stretch, I promise!
Slotting the Supports
I used a 3/8" 4-flute. 2-flutes would be better for aluminum, but didn't have one the right size. I use a special slotting technique: I never lower the spinning endmill unless I am moving X or Y. I crank the quill handwheel at about the same speed as the axis handwheel, in this case Y. This all seems to make cutting slots tremendously faster than trying to plunge the mill straight down. I got the idea watching CNC machines. The other thing is I save about 1/8" of the slot on either end and cut it when the mill is cutting the full thickness. It looks cleaner.
Trial Mock Up of the Table and Clamps
It's getting close so I wanted to try assembling the table and clamp system to make sure nothing too terrible is wrong. First I have to drill and tap the holes in the base:
Note how I'm hanging below the table on this. I've clamped my base to an Angle Plate, and between squaring the ends with an milling op, resting on a 1-2-3 block on the machine's ways, and the Angle Plate, I'm hoping things are pretty square...
The mill head is cranked all the way to top of travels. Now you see why I've got the plate hanging below the table top. I simply drilled and tapped 2 1/4-20 threaded holes in each end of the base plate, so now we're ready to mock it up:
Looking cool, this might work! Looking at all the square corners on the support and brackets, I'm wishing I had a disc sander to round them with. I'll have to look into that later...
Close up of clamp from the outside...
And a close up from the inside...
Getting mighty close now!
Slotting the Base Plate
I slotted the base plate with a "corncob" 4-flute roughing end mill. My technique involves turning the quill and X-axis handwheels at the same time, mimicking the ramped cuts CNC machines make. You can cut a slot much faster that way than trying to plunge full depth.
Final Wheel Balancing
Final balancing of the disc was tricky. There was considerable vibration when I fired it up the first time. This was no doubt made worse by the fact I have a 3400 rpm motor, so it was going quite fast. I could see the disc wasn't quite spinning true, so my efforts at dialing in the hub on the rotab were not quite on the money. Since I don't own a lathe with enough capacity to true it up I decided to use the sander itself as a lathe:
I using a CCMT 1/2" shank tool guided by the mitre gage from my HF Tool Grinder. Good thing I made my slot to match!
These cuts are made entirely by hand, so they have to be extremely light!
Check the fuzzy "aluminum wool" the light cuts made. This image is magnified. That Kant-Twist is about 1" across. I've never seen swarf like this, but 3400 rpm, a sharp CCMT carbide insert, and almost no cutting pressure on a shallow cut produces it...
Once the disk was true, that was all the balancing I need. The whole thing runs extremely smoothly and very fast.
Finishing Touches and Photos
The old square brackets
The new rounded brackets. I rounded them using the disc sander and a 1-2-3 block as a support without the table. It took about 1 minute to do this freehand. I'm gonna love this new tool!
My new Thing of Beauty!
It's a powerful beast. I was pushing hard on that bracket and the motor didn't even think of slowing down.
Inspirations
I always research the web before starting a project to get inspirations. Below is the information I collected.
Recently, there was a thread on the HSM board that showed pictured of many members shop-built disc sanders as well as a few store bought. Here are some samples for inspiration:
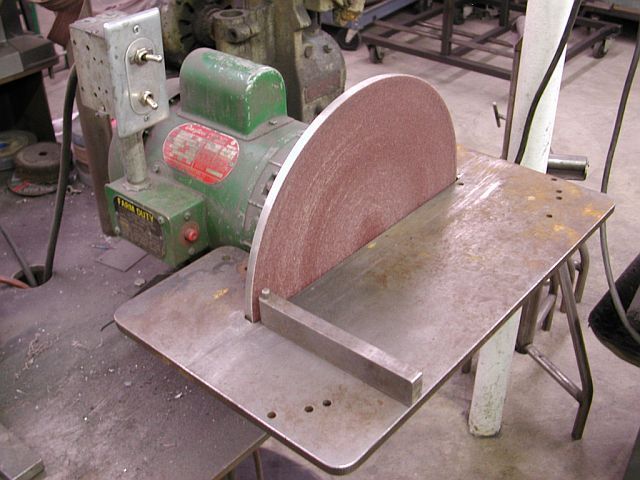
Nice large capacity sander by George Barnes. 12" disc + 3/4 HP motor...
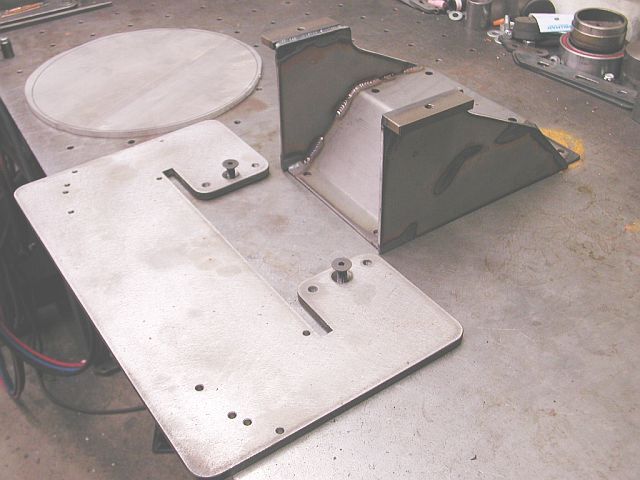
Parts for the Barnes Disc sander. Very elegantly made!
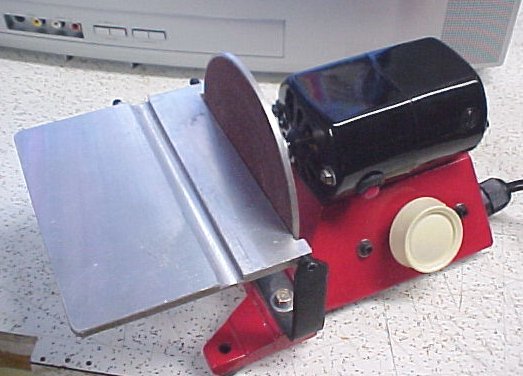
Cute little modified HF disc sander. The mod was the dimmer speed control. I've seen one of these little guys in person and its pretty slick. I'm still not quite sure why I'd need one if I had a full sized, though...
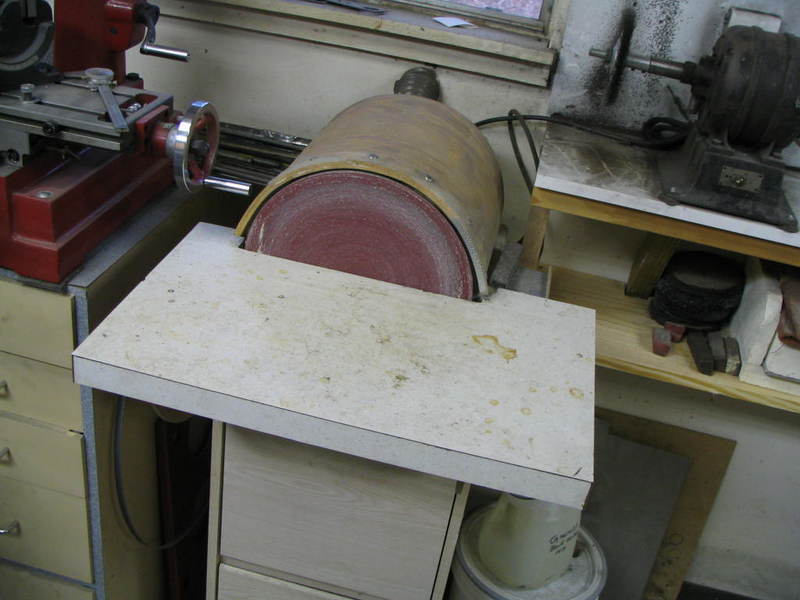
Bill Pace created a sanding station...
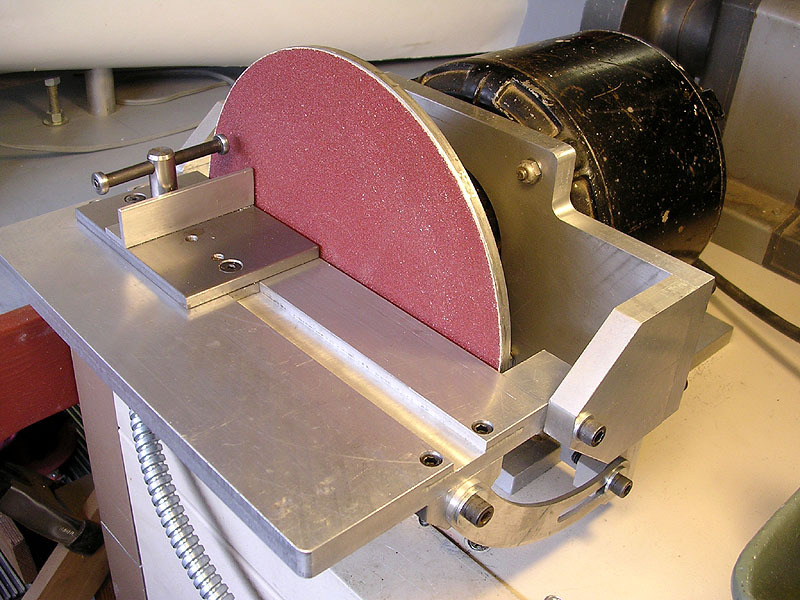
Dickeybird's nice 8" model as written up on the HSM board...
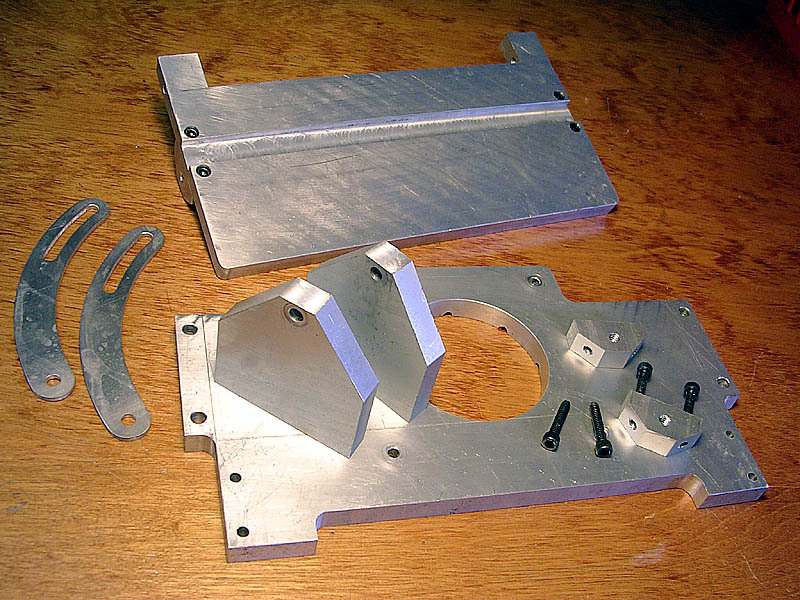
Machined parts for Dickeybird's sander...
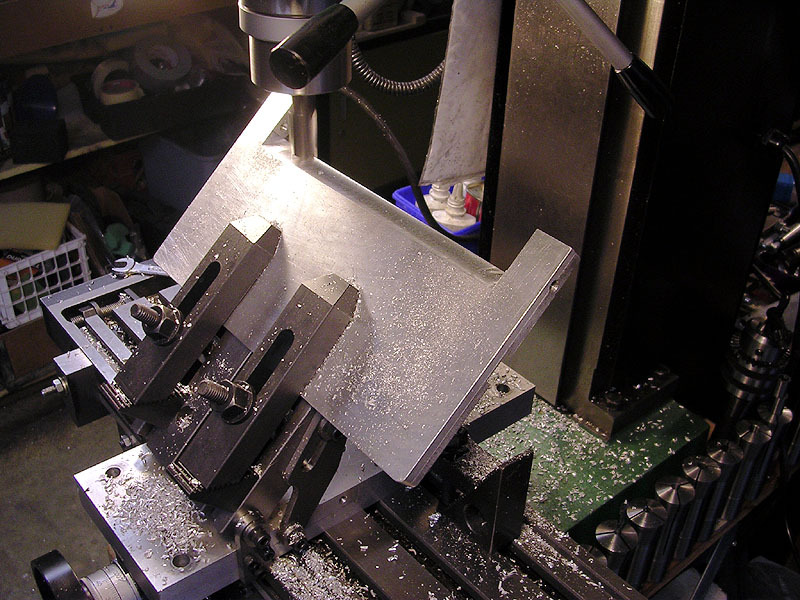
Cutting the table for Dickeybird's sander. I have got to build one of those tilting table/sine vises for my mill!
Some of my thoughts include whether to combine it with a belt sander and the idea of using a rolling tool chest as a stand. I like the latter because there is never enough storage in a shop. The tool chest would be sturdy and full of drawers. If it is a little big for the sander, one could mount a tool grinder and sander on the same cart.
|
Do you want to be a better CNC'er in 37 Seconds? Get Better Tool Life, Surface Finish, and Material Removal Rates Fast. It's that easy. You can install and get results now.
|
||||||||||||||||||
| ||||||||||||||||||